Make Your First PC Game
A warm, step-by-step guide with the human touch—from installing tools to building & exporting a playable 2D platformer for Windows.
Welcome! If you’ve ever felt the urge to make a game but didn’t know where to start, this guide is for you. We’ll walk slowly and practically, with no assumptions beyond “you can install software and follow steps.” By the end you’ll have a small but real Windows build you can play, share, and keep improving.
Quick overview (what you’ll build)
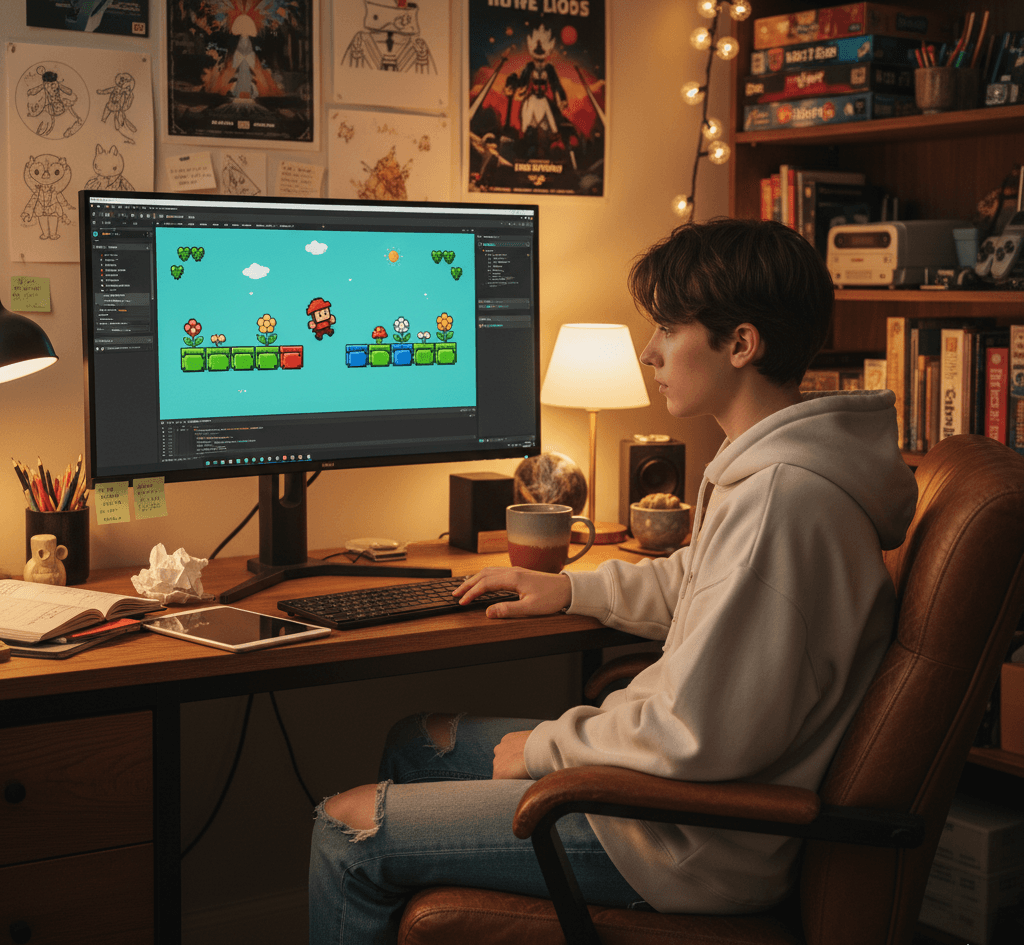
We’ll make a simple 2D platformer: a player runs, jumps, collects coins, and reaches a goal. This project teaches core game-dev concepts—scenes/levels, sprites, physics, input, UI, basic scripting, and packaging for Windows. Everything is intentionally small so you can finish and feel proud.
Tools you’ll need (all free / beginner friendly)
- Windows 10/11—desktop or laptop.
- Unity (LTS)—the game engine we’ll use. Download Unity Hub and install the latest LTS editor (choose the 2D template).
- Visual Studio (Community)—C# editor integrated with Unity (the Unity Hub installer can include it).
- A simple image editor—e.g., free: GIMP, Krita, or Piskel (for pixel art).
- Free assets (optional)—placeholder sprites/sounds; you can draw or download CC0 assets.
- Optional: A gamepad (but a keyboard is fine).
Tip: If you want a lighter engine later, try Godot—but Unity is great for beginners because of the tutorials and the editor tools we’ll use.
Project setup—step by step
1. Install Unity Hub & Editor
- Download Unity Hub from unity.com and install.
- Open Unity Hub → Installs → Add → choose the latest LTS version.
- During install, include Microsoft Visual Studio (if you don’t already have it) and Windows Build Support (IL2CPP) so you can export Windows builds.
- Wait for installation to finish.
2. Create the project.
- Open Unity Hub → Projects → New Project.
- Choose 2D template. Name it FirstPCGame_Platformer. Choose a folder you remember. Click Create.
- Unity opens the editor—take a breath. You’re inside a game engine.
3. Learn the Unity editor layout (quick tour).
- Hierarchy—lists objects in the current scene.
- Scene—visual editor where you place objects.
- Game—the play preview.
- Inspector—shows properties of selected object.
- Project—files/assets.
- Console—errors and logs.
Spend 5–10 minutes clicking around. Move the Scene view with middle mouse drag; zoom with scroll.
Building blocks—create art & basic scene
4. Import assets
You can draw sprites or use free placeholder assets.
- Put your sprites (player, tile, coin, background) into the Assets folder (drag & drop into Project window → Assets). Unity will import them automatically.
- For quick testing, create simple colored squares in your image editor (64×64 PNG).
5. Configure sprites for 2D
- Select a sprite in Project → In Inspector, set Texture Type to Sprite (2D and UI).
- Set Pixels Per Unit according to your art (default 100). Click Apply.
6. Create the scene (level).
- In Hierarchy → right click → 2D Object → Sprite. Name it Ground.
- In Inspector, assign your ground sprite. Scale it to form a floor.
- Duplicate ground pieces to create platforms.
Physics & Player Movement
7. Add physics components.
For 2D platformers, use Unity’s 2D physics:
- Select each ground/platform → click Add Component → BoxCollider2D. This makes platforms solid.
- Create player object: Hierarchy → 2D Object → Sprite → name Player. Assign player sprite.
- With Player selected → Add Component → Rigidbody2D (set Gravity Scale ≈ 3 for snappy jumps).
- Add BoxCollider2D to Player.
8. Create the PlayerController script (movement + jumping).
- In Project → Right click → Create → C# Script → name PlayerController.
- Double-click to open in Visual Studio and replace content with the code below.
using UnityEngine; [RequireComponent(typeof(Rigidbody2D))] public class PlayerController : MonoBehaviour { public float moveSpeed = 6f; public float jumpForce = 11f; public Transform groundCheck; public float groundCheckRadius = 0.1f; public LayerMask groundLayer; private Rigidbody2D rb; private float horizontal; private bool isGrounded; void Awake() { rb = GetComponent<Rigidbody2D>(); } void Update() { horizontal = Input.GetAxisRaw(“Horizontal”); // -1, 0, 1 if (Input. GetButtonDown(“Jump”) && IsGrounded()) { rb.velocity = new Vector2(rb.velocity.x, jumpForce); } } void FixedUpdate() { rb.velocity = new Vector2(horizontal * moveSpeed, rb.velocity.y); } bool IsGrounded() { if (groundCheck == null) return false; isGrounded = Physics2D. OverlapCircle(groundCheck.position, groundCheckRadius, groundLayer); return isGrounded; } }
- Save. Back in Unity: attach PlayerController to Player (drag script onto player).
- Create an empty child of Player (right-click Player → Create Empty), name it GroundCheck, place it slightly below feet, and assign that transform in the groundCheck field.
- Set Ground Layer: create a layer named Ground and assign it to ground objects; set groundLayer in PlayerController to that layer.
- Adjust moveSpeed and jumpForce in the Inspector to feel right (try moveSpeed=6, jumpForce=11).
Human tip: small tweaks make the game “feel” better. Tweak moveSpeed by ±1 and jumpForce by ±2 until jumping feels responsive.
Camera, coins, and win condition
9. Make the camera follow the player.
Create a CameraFollow script:
using UnityEngine; public class Camera Follow : MonoBehaviour { public Transform target; public Vector3 offset = new Vector3(0, 1.5f, -10); public float smoothTime = 0.12f; private Vector3 velocity = Vector3.zero; void LateUpdate() { if (target == null) return; Vector3 targetPos = target.position + offset; transform.position = Vector3.SmoothDamp(transform.position, targetPos, ref velocity, smoothTime); } }
Attach this to the main camera and assign Player as the target.
10. Create collectible coins
- Add a Coin sprite to the scene.
- Add CircleCollider2D → check Is Trigger.
- Create script Coin.cs:
using UnityEngine; public class Coin : MonoBehaviour { public int value = 1; private void OnTriggerEnter2D(Collider2D other) { if (other. CompareTag(“Player”)) { GameManager.Instance.AddCoins(value); Destroy(gameObject); } } }
- Create a GameManager (singleton) to track score.
using UnityEngine; using UnityEngine. SceneManagement; using UnityEngine. UI; public class GameManager : MonoBehaviour { public static GameManager Instance; public int coins = 0; public Text coinText; public GameObject winPanel; void Awake() { if (Instance != null) { Destroy(gameObject); return; } Instance = this; DontDestroyOnLoad(gameObject); } public void AddCoins(int value) { coins += value; if (coinText != null) coinText.text = “Coins: ” + coins; } public void WinLevel() { if (winPanel != null) winPanel. SetActive(true); Time.timeScale = 0f; // pause } }
- Make a UI Text element (Canvas → UI → Text) for coin count. Hook it to CoinText.
- Create a Goal object (flag)—add BoxCollider2D with Is Trigger, script Goal.cs:
using UnityEngine; public class Goal : MonoBehaviour { private void OnTriggerEnter2D(Collider2D other) { if (other. CompareTag(“Player”)) { GameManager.Instance.WinLevel(); } } }
- Tag the Player object with the tag Player (top of Inspector).
UI polish & basic audio
11. HUD, menus, and sound
- Create a simple Main Menu scene with a Start button (UI Button) that loads Level 1 using SceneManager. LoadScene.
- Create Pause (toggle Time). timeScale = 0) and resume functionality with UI buttons.
- Add sound effects: place audio files in Assets → create AudioSource on Player or GameManager and play on events (coin pickup, jump, win). Example coin play:
public AudioSource audioSource; public AudioClip coinClip; public void AddCoins(int value) { coins += value; if (coinText != null) coinText.text = “Coins: ” + coins; if (audioSource != null && coinClip != null) audioSource.PlayOneShot(coinClip); }
Human note: simple audio drastically improves perceived quality. Even tiny “plink” sounds make collecting satisfying.
Playtesting & debugging
12. Play often.
- Click Play in the editor frequently after small changes.
- Use the console to view and fix errors (double-click the error to jump to the line).
- Add Debug.Log(“Reached Goal”) for important events while testing.
13. Tweak for feel
- Adjust physics (Rigidbody2D mass, drag, gravity) and jumps.
- Add coyote time (allow jumping shortly after leaving the ground) and variable jump height (release the jump button to fall sooner)—both polish the feel.
Example variable jump logic (add to PlayerController):
public float fallMultiplier = 2.5f; public float lowJumpMultiplier = 2f; void Fixed Update() { // horizontal movement code… if (rb.velocity.y < 0) { rb.velocity += Vector2.up Physics2D.gravity.y (fallMultiplier – 1) Time.fixedDeltaTime; } else if (rb.velocity.y > 0 && ! Input. GetButton(“Jump”)) { rb.velocity += Vector2.up Physics2D.gravity.y (lowJumpMultiplier – 1) * Time.fixedDeltaTime; } }
Polish: particles, animations, and visuals
14. Animations
- Use Animator and Animation windows to add run/jump/idle animations for the player.
- Create an AnimatorController with a state machine (Idle → Run → Jump) and parameters (speed, isGrounded) to control transitions.
15. Particles & VFX
- Add ParticleSystem on coin pickup (burst) and on player landing (dust). Small particles add a lot.
16. Visual polish checklist
- Background parallax layers.
- Simple lighting or color grading (post-processing).
- Clean UI (big readable fonts, consistent colors).
- Menu transitions (fade in/out).
Preparing for Build—Windows export
17. Project settings
- File → Build Settings → Add Open Scenes (add your main scenes).
- Build Settings: Platform → select PC, Mac & Linux Standalone, Target Platform: Windows, Architecture: x86_64. Click Switch Platform if needed.
- Player Settings → set Product Name, Company Name, and Default Icon. Under Resolution and Presentation, set default screen orientation and fullscreen options.
- Under Other Settings, set the API compatibility level if you use certain libraries (stick with defaults for the beginning).
18. Build & run
- In Build Settings → Build, choose a folder and a name like FirstPCGame.exe.
- Unity will compile and create an .exe and a data folder. Run FirstPCGame.exe to play your standalone game.
Troubleshooting: if the build fails with errors, open the console, fix the compile errors, and then rebuild.
Packaging & sharing
- Zip the .exe and Data folder into a single .zip to share.
- For a nicer installer, use third-party installers (Inno Setup) later—not necessary at first.
Beginner mistakes & how to avoid them (human advice)
- Monster project syndrome—don’t start with an MMO idea. Start tiny and finish.
- Polish before core mechanics—get the basic loop working (move/jump/collect) before art/menus.
- Ignoring playtesting—test on different machines if possible; ask friends for feedback.
- Too many assets—keep the first level simple; add complexity gradually.
- Not using version control—learn Git eventually; it saves pain.
Ideas for extending the game (next steps)
- Add enemies and a health system.
- Add multiple levels and a level select screen.
- Power-ups (double jump, speed boost).
- Save system for high scores.
- Add a simple AI for enemies (patrol + chase).
- Implement keyboard & controller support and remappable keys.
Helpful mini-tutorials (what to learn next)
- Unity Input System (new input package) for gamepad support.
- C# basics: classes, events, and coroutines.
- Animator Controller: animation blending.
- ScriptableObjects to organize data (e.g., item definitions).
- Unity Addressables for asset loading (for bigger projects).
- Basic shaders (Shader Graph) for visual effects.
Quick reference: minimal file list your project will have
- Scenes: MainMenu.unity, Level1.unity
- Scripts: PlayerController.cs, CameraFollow.cs, GameManager.cs, Coin.cs, Goal.cs
- Assets: Sprites/ (player, tiles, coins), Audio/ (jump, coin), UI/ (fonts, textures)
- Build: FirstPCGame.exe + FirstPCGame_Data/
A short checklist before you ship (final polish)
- The game runs without errors (console clean).
- Controls feel responsive.
- Audio levels balanced.
- UI readable at typical resolutions (1280×720 and 1920×1080).
- Build exported and tested on target Windows machine.
- You have an icon and a short description for sharing.
Encouragement & next moves (human touch)
You’ve just learned the bones of making a playable Windows game. Expect that your first build will be small and imperfect—that’s how everyone starts. The most important thing is to finish something, however tiny. Finish, celebrate, then iterate.
🎮 Official Software & Documentation
- Unity Hub & Editor (Official Download)
🔗 https://unity.com/download
The official page to download Unity Hub and the latest Long-Term Support (LTS) version of Unity. - Unity Manual (Official Documentation)
🔗 https://docs.unity3d.com/Manual/index.html
The official guide covering Unity Editor features, components, scripting, and settings. - Unity Learn Platform (Free Courses)
🔗 https://learn.unity.com/
Free, beginner-friendly tutorials, projects, and learning paths for Unity. - Visual Studio Community (Microsoft)
🔗 https://visualstudio.microsoft.com/vs/community/
Free IDE for C# coding with full Unity integration. - Godot Engine (Open Source Alternative)
🔗 https://godotengine.org/
A lightweight, open-source alternative game engine if you want to explore beyond Unity.